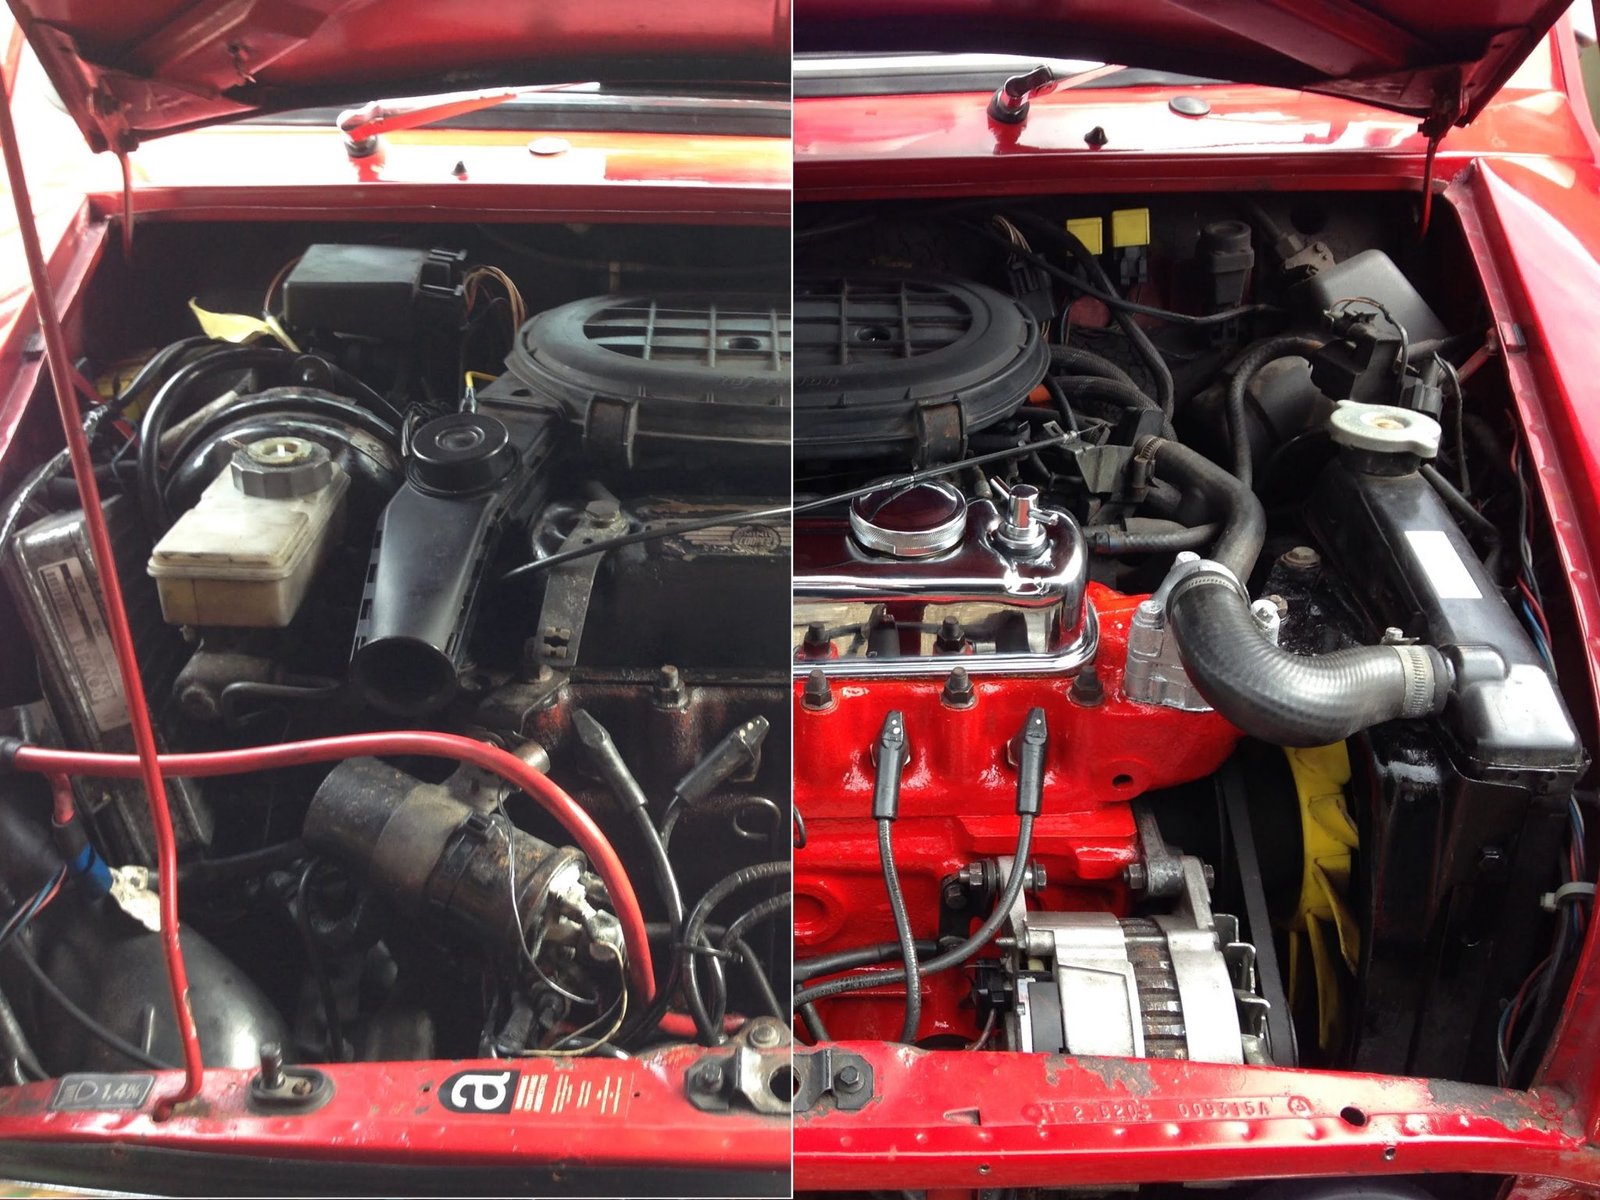
Learn how to Clean Your Engine Bay effectively with our step-by-step guide. Discover the best products, common mistakes, and DIY vs. professional options.
Hello! If you want your engine bay to look great and work better, Clean Your Engine Bay is important. First, we need to prepare the right tools and products. Then, we clean step-by-step, like removing debris and using the right degreaser. We will also talk about what products are best and common mistakes to avoid. You’ll find tips for DIY cleaning and know when to call a professional. Stay tuned to learn everything you need for a clean engine bay!
Preparation Before Clean Your Engine Bay
Before you start the cleaning process, it’s crucial to prepare properly. This not only ensures a thorough clean but also protects your vehicle from potential damage.

Safety Precautions
Ensure that your engine is cool before you begin cleaning. Working on a hot engine can be dangerous and may cause damage to the engine components. Additionally, disconnect the battery to prevent any electrical issues.
Tools and Products Needed to Clean Your Engine Bay
To get started, gather the following tools and products:
- Degreasers: Essential for breaking down grease and grime.
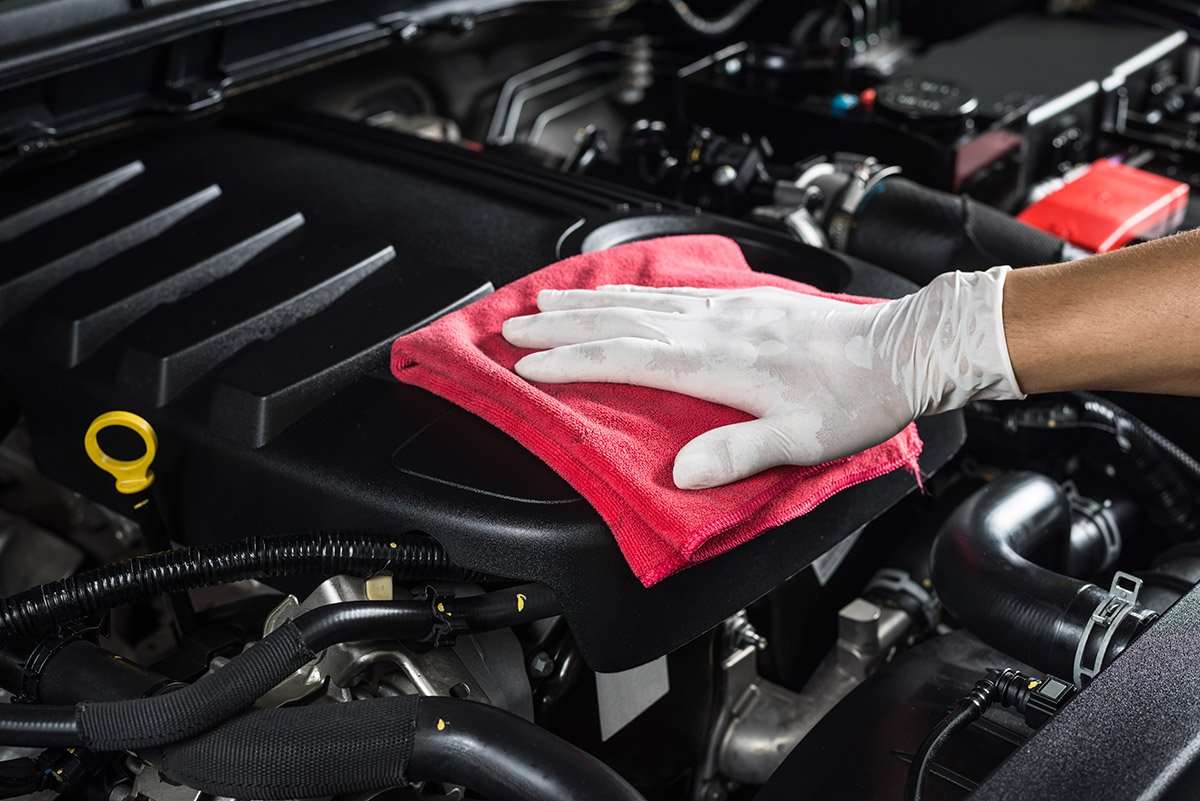
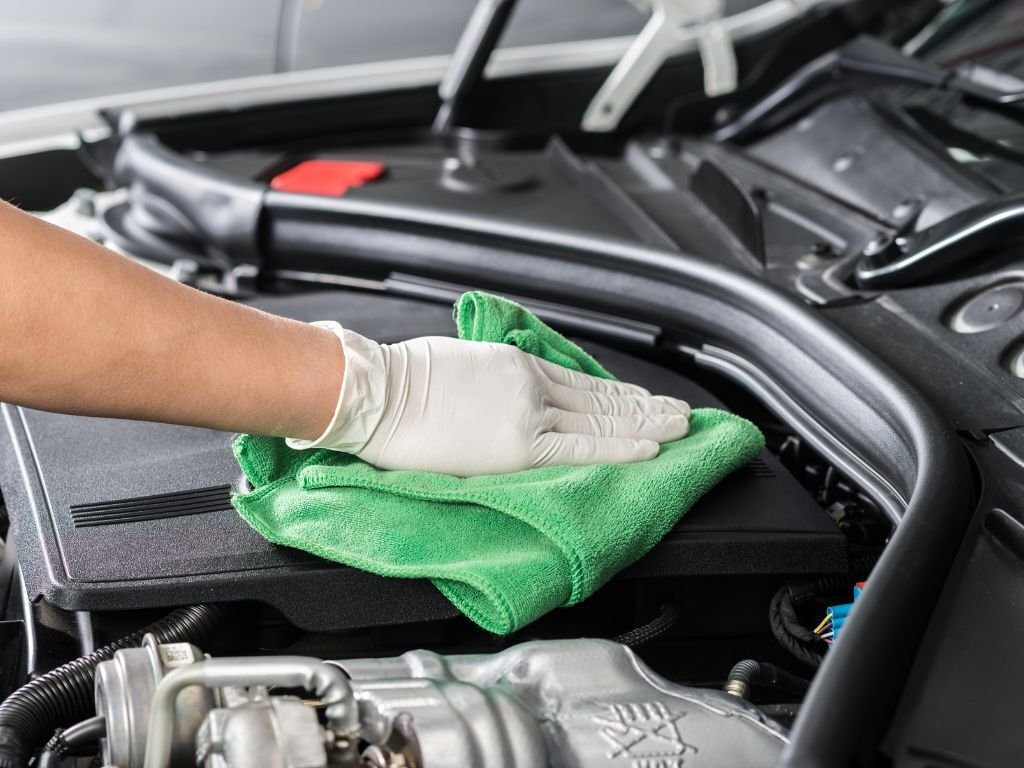
- Cleaning Cloths: Microfiber cloths are ideal for wiping down surfaces.
- Brushes: Use soft-bristled brushes to reach into crevices.
- High-Pressure Water (Optional): For a more thorough rinse, though it should be used carefully.
Step-by-Step Cleaning Process
1. Ensure Engine is Cool
Before cleaning, always check that the engine is completely cool. This prevents burns and ensures that cleaning products work effectively.
2. Remove Debris
Start by removing any visible debris from the engine bay. This includes leaves, dirt, and other particles that can interfere with the cleaning process.
3. Cover Sensitive Areas
Cover electrical components, air intake, and other sensitive parts with plastic or foil. This step is crucial to protect these areas from water and cleaning agents.

4. Apply Degreaser
Spray the degreaser evenly across the engine bay. Make sure to cover all areas with visible grime. Allow the degreaser to sit for a few minutes to break down the grease.
5. Scrub and Clean
Using brushes and cloths, scrub the engine bay gently. Focus on areas with heavy grime, ensuring that you do not miss any spots. Be gentle around sensitive components to avoid damage.
6. Rinse and Dry
Rinse the engine bay with water. If you use a high-pressure washer, keep the pressure low to avoid damaging components. After rinsing, dry the engine bay thoroughly with clean cloths to prevent rust and water spots.
Post-Cleaning Care
Once the Clean Your Engine Bay is complete, inspect the engine bay for any remaining dirt. Replace any covers or components that were removed or protected during the cleaning process.
Best Products for Engine Bay Cleaning
Choosing the right products can make a significant difference in the effectiveness of your engine bay cleaning. Here are some top recommendations:
- Degreasers: Look for products specifically designed for automotive use. These are effective in breaking down tough grease.
- Specialty Cleaners: For additional cleaning, consider products that target specific areas, like the air filter or battery terminals.
- Protective Sprays: After cleaning, apply a protective spray to help repel dirt and grime.
How to Choose the Right Product to Clean Your Engine Bay
When selecting cleaning products, consider the type of engine you have and the ingredients in the products. Non-toxic and biodegradable options are generally safer for both your vehicle and the environment.

Common Mistakes to Avoid During Engine Bay Cleaning
Avoiding common mistakes can help ensure that your engine bay cleaning is effective and safe:
- Using Incorrect Products: Harsh chemicals can damage engine components. Stick to automotive-specific products.
- Ignoring Electrical Components: Water and cleaning agents can harm electrical parts. Always cover them before cleaning.
- Overuse of Water: Excessive water can lead to electrical issues and rust. Use water sparingly.
- Neglecting Drying: Ensure the engine bay is completely dry to prevent rust and corrosion.
DIY vs. Professional Engine Bay Cleaning Services
DIY Cleaning
Advantages:
- Cost-effective
- Flexible timing
Disadvantages:
- Requires time and effort
- Potential for mistakes if not done correctly
Professional Services
Benefits:
- Expertise and quality
- Thorough cleaning
Costs and What to Expect: Professional cleaning services can be more expensive but often provide a more comprehensive clean and can identify potential issues that might be missed during a DIY clean.
Maintenance Tips to Keep Your Engine Bay Clean Longer

Maintaining a clean engine bay is easier with regular care:
- Regular Inspection: Check your engine bay periodically to catch any build-up early.
- Routine Cleaning: Aim to clean your engine bay every 6 to 12 months, depending on usage and environmental factors.
- Protective Measures: Use engine covers and sealants to reduce the accumulation of dirt and grime.
In summary, cleaning your engine bay is key for your car’s performance and appearance. Follow the steps, use the right products, and avoid common mistakes to keep your engine bay in top shape. If you found this guide helpful, leave a comment, share with friends, or explore more on our website for further tips and advice.
FAQs about Engine Bay Cleaning
What is the best way to clean an engine bay?
The best way to clean an Clean Your Engine Bay involves several steps to ensure thorough and safe cleaning. First, make sure the engine is cool and disconnect the battery to prevent electrical issues. Remove any loose debris like leaves and dirt. Cover sensitive parts such as electrical components with plastic. Apply a degreaser to break down grime, then scrub with a soft brush and clean cloths. Rinse carefully with low-pressure water and dry thoroughly. This method helps maintain the engine’s performance and appearance.
How often should you clean your engine bay?
You should clean your Clean Your Engine Bay approximately every 6 to 12 months. Regular cleaning helps prevent the buildup of dirt and grime, which can affect engine performance and lead to potential issues. The frequency of cleaning may vary based on driving conditions and environmental factors, such as exposure to road salt or off-road driving. Regular inspections can help determine when a cleaning is needed.
Can I use household cleaners for engine bay cleaning?
Using household cleaners for Clean Your Engine Bay is not recommended. These products may contain chemicals that can damage engine components or fail to effectively remove grease. Instead, use products specifically designed for automotive cleaning, such as degreasers and engine cleaners. These products are formulated to handle the tough grime and dirt found in engine bays while being safe for the vehicle’s surfaces.
Is it safe to use a pressure washer on an engine bay?
Using a pressure washer on an Clean Your Engine Bay can be risky if not done properly. High-pressure water can force water into sensitive electrical components or cause damage to engine parts. If you choose to use a pressure washer, ensure you use a low-pressure setting and keep a safe distance from delicate areas. Alternatively, using a hose with a gentle stream of water is generally safer for cleaning your engine bay.

What are the common mistakes to avoid when cleaning an engine bay?
Common mistakes in Clean Your Engine Bay, cleaning include using harsh chemicals that can damage components, neglecting to cover sensitive electrical parts, and overusing water, which can lead to rust and corrosion. Additionally, failing to dry the engine bay thoroughly can result in moisture-related issues. To avoid these problems, use appropriate cleaning products, cover electrical components, and ensure the engine bay is completely dry after cleaning.